Why Building an ADU is California’s Smartest Housing Move
Building an ADU (Accessory Dwelling Unit) is one of the most popular and powerful strategies for California homeowners to add significant value to their property, generate a new stream of income, and creatively solve pressing housing challenges. These secondary living spaces—often called granny flats, in-law suites, or backyard cottages—are not just extra rooms; they are fully independent homes, complete with their own kitchen, bathroom, and private entrance, all located on the same lot as a primary residence.
Quick Answer: Essential Steps for Building an ADU
- Feasibility & Zoning Check – Start by verifying your local city and county ADU regulations to confirm your property is eligible. This initial step saves immense time and money.
- Property Assessment – Analyze your lot size, required setbacks from property lines, and the location of existing utility lines (sewer, water, power).
- Design and Budgeting – Develop a detailed design that meets your needs and create a comprehensive budget. Secure financing for the project, which typically ranges from $80,000 for a simple conversion to over $400,000 for a custom new build.
- Permit Application – Submit your architectural and structural plans to the local building department for approval. This plan check process can take 3-6 months.
- Hire Your Professional Team – Select and vet qualified architects, designers, and general contractors with specific ADU experience.
- Construction – The physical build, including foundation, framing, mechanical/electrical/plumbing (MEP), and interior/exterior finishes, typically takes 4-9 months.
- Final Inspections & Occupancy – Complete all required city inspections to receive your Certificate of Occupancy, officially making the unit habitable.
The numbers behind the ADU movement are staggering. Driven by a convergence of factors—soaring housing costs, the rise of remote work, and a growing desire for multigenerational living arrangements—the demand for these units has exploded. California ADU permits skyrocketed over 11-fold from 2016 to 2019 following the passage of new state laws designed to remove barriers to construction. This trend continues as homeowners seek flexible living solutions, whether it’s generating substantial rental income to offset a mortgage, providing a supportive yet independent home for aging parents, creating a dedicated and quiet home office, or offering more affordable housing options for the community.
The financial incentives are compelling. A well-designed ADU can significantly increase your property’s market value while generating $1,500 to $3,500 or more in monthly rental income in most California markets. Furthermore, ADUs support the 89% of homeowners who wish to age in place, offering a perfect balance of nearby family support and personal independence.
However, building an ADU is a major undertaking. It’s a complex construction project that demands meticulous planning, a solid understanding of detailed regulations, and careful financial management. Ultimate success hinges on expertly navigating the maze of zoning laws, construction timelines, and permitting processes that vary widely across California’s diverse cities and counties.
Understanding ADUs: Types, Benefits, and Value
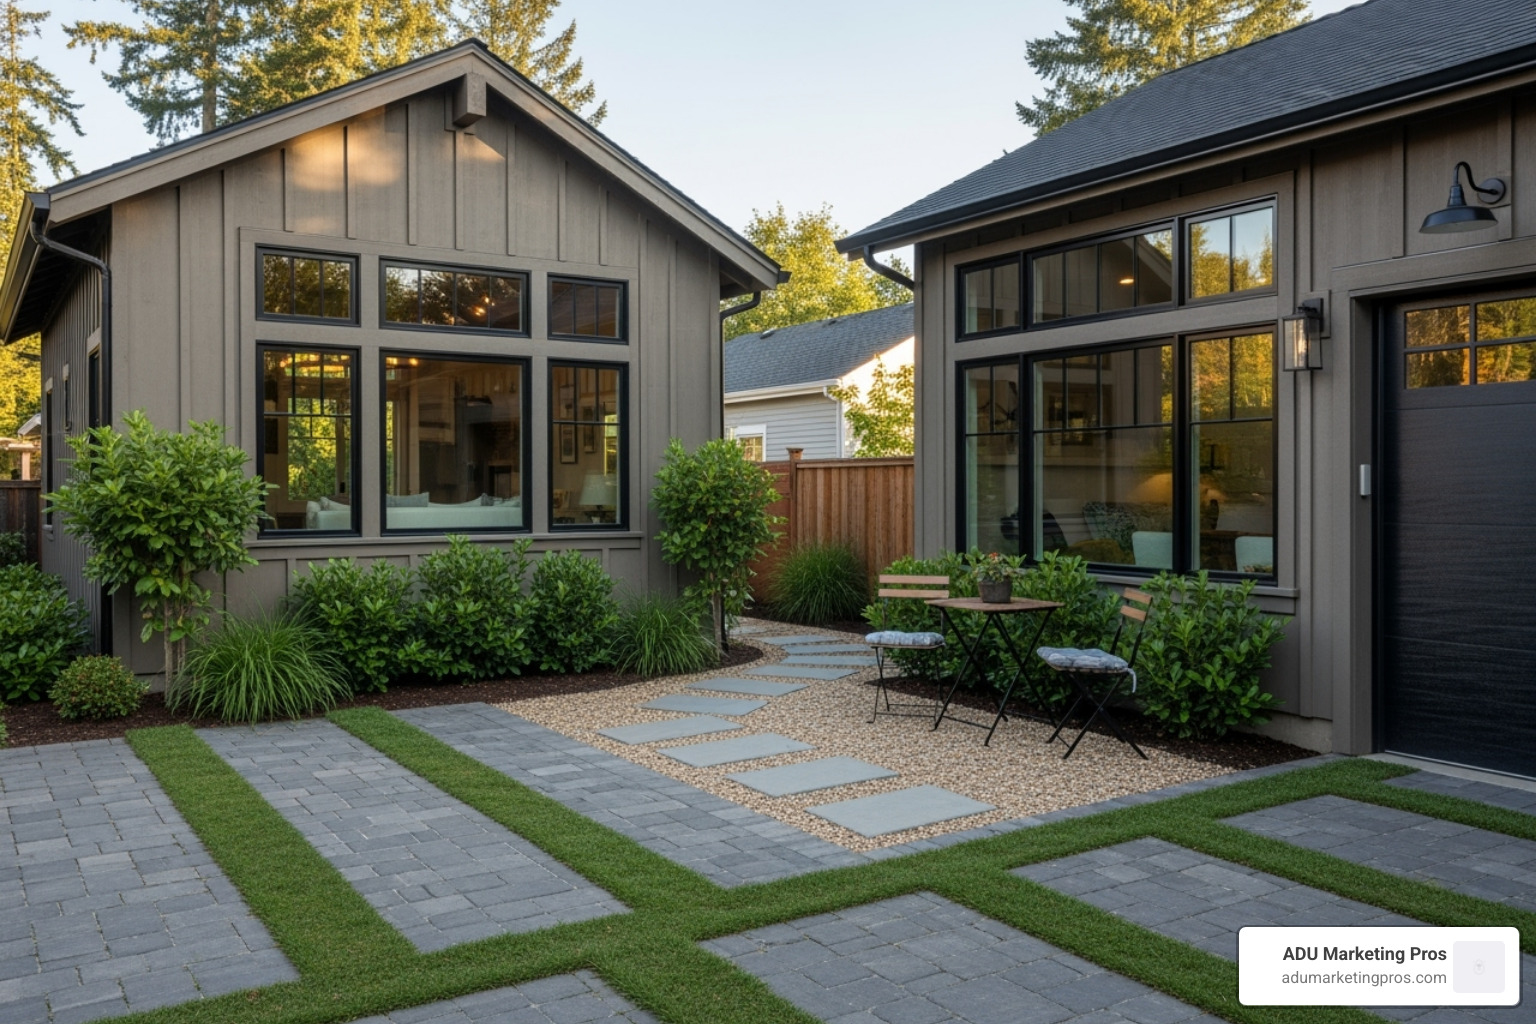
An Accessory Dwelling Unit is far more than an extra room—it’s a complete, self-contained home on your property, thoughtfully designed with its own kitchen, bathroom, and entrance. Building an ADU unlocks incredible flexibility and opportunity. It can serve as a comfortable home for aging parents, a first independent space for an adult child, a high-demand rental unit, a quiet and productive home office, or a private guest house for visitors.
Financially, ADUs represent one of the smartest investments a homeowner can make. They create a reliable passive income stream, with typical rents ranging from $1,500 to $3,500 per month in many California markets, which can dramatically offset or even cover your primary mortgage payment. Beyond cash flow, ADUs consistently increase property value, often by an amount greater than their construction cost. On a community level, they are an environmentally conscious solution, promoting urban density without contributing to sprawl by making efficient use of existing residential land and infrastructure.

Common Types of Accessory Dwelling Units
When building an ADU, you have several distinct options, each with its own cost, timeline, and set of considerations. Understanding these types is the first step in aligning the project with your property, goals, and budget.
- Detached ADUs: Often called backyard cottages, these are standalone structures built new from the ground up. They offer the highest level of privacy for both the main home residents and the ADU occupants. This separation makes them highly desirable as rental units. They also provide the most design freedom but are the most expensive option, typically costing $200,000 to $400,000+.
- Attached ADUs: These units are built as an addition to the primary house, sharing at least one wall. While connected, they have their own separate entrance, kitchen, and bathroom, maintaining independence. They offer a good middle ground on cost and privacy, with prices generally ranging from $150,000 to $300,000.
- Garage Conversions: This is an extremely popular and budget-friendly choice. By utilizing the existing structure of a garage, you can save significantly on foundation and framing costs. Common challenges include upgrading the foundation to meet living space standards and replacing the garage door with a new entryway and windows. Typical costs run from $50,000 to $100,000.
- Interior Conversions (Upper or Lower Level): This involves transforming existing space within your home, such as a basement or an oversized bonus room, into a self-contained ADU. This approach avoids altering your home’s exterior footprint but requires careful planning for soundproofing, fire separation, and creating a separate entrance. Costs often range from $75,000 to $150,000.
- Junior ADUs (JADUs): A JADU is a specialized type of conversion, limited to 500 square feet, created from existing space within the primary residence (like a spare bedroom). It must have its own separate entrance but can share a bathroom with the main house and only requires an “efficiency kitchen” (e.g., a kitchenette without a full oven). This is the most affordable option, costing $40,000 to $80,000, but offers the least privacy and space.
| ADU Type | Cost Range | Timeline | Privacy Level | Build Complexity | Best For… |
|---|---|---|---|---|---|
| Detached ADU | $200,000 – $400,000 | 6-12+ months | High | High | Maximizing rental income and privacy. |
| Attached ADU | $150,000 – $300,000 | 5-10 months | Medium | Medium | Housing family members or creating a rental with a smaller footprint. |
| Garage Conversion | $50,000 – $100,000 | 4-8 months | Medium | Low-Medium | Budget-conscious homeowners with an underutilized garage. |
| Interior Conversion | $75,000 – $150,000 | 5-9 months | Low-Medium | Medium | Homeowners with large, unused interior spaces like basements. |
| Junior ADU (JADU) | $40,000 – $80,000 | 3-6 months | Low | Low | The most affordable option for a single occupant or home office. |
How an ADU Impacts Your Property Value and Rental Income
Building an ADU is a powerful real estate investment that pays dividends in multiple ways. A legally permitted ADU adds substantial, quantifiable value to your property, which is often realized to be more than the total construction cost upon appraisal. The most immediate financial benefit is the rental income potential. In California’s competitive housing market, this can range from $1,500 to over $3,500 monthly, depending on location, size, and quality of finishes. This income can be structured through stable, long-term leases or potentially higher-yield short-term rentals, although many cities have enacted strict regulations on short-term ADU rentals to preserve long-term housing stock.
Regarding property taxes, California law provides significant protection for homeowners. Your primary residence is not reassessed when you build an ADU. Instead, your property tax bill is adjusted based on a “blended assessment,” where only the value of the newly constructed ADU is added to your existing property’s assessed value. This prevents the kind of massive tax hike that would occur with a full property reassessment. According to the California Department of Housing and Community Development, this favorable tax treatment, combined with rental income and long-term appreciation, makes ADUs a premier tool for building personal wealth.
Phase 1: Planning, Design, and Budgeting
Before a single shovel hits the ground, the most critical phase of building an ADU is the meticulous work of planning, design, and budgeting. This foundational stage is where you set your project up for success, preventing costly surprises and delays down the road.
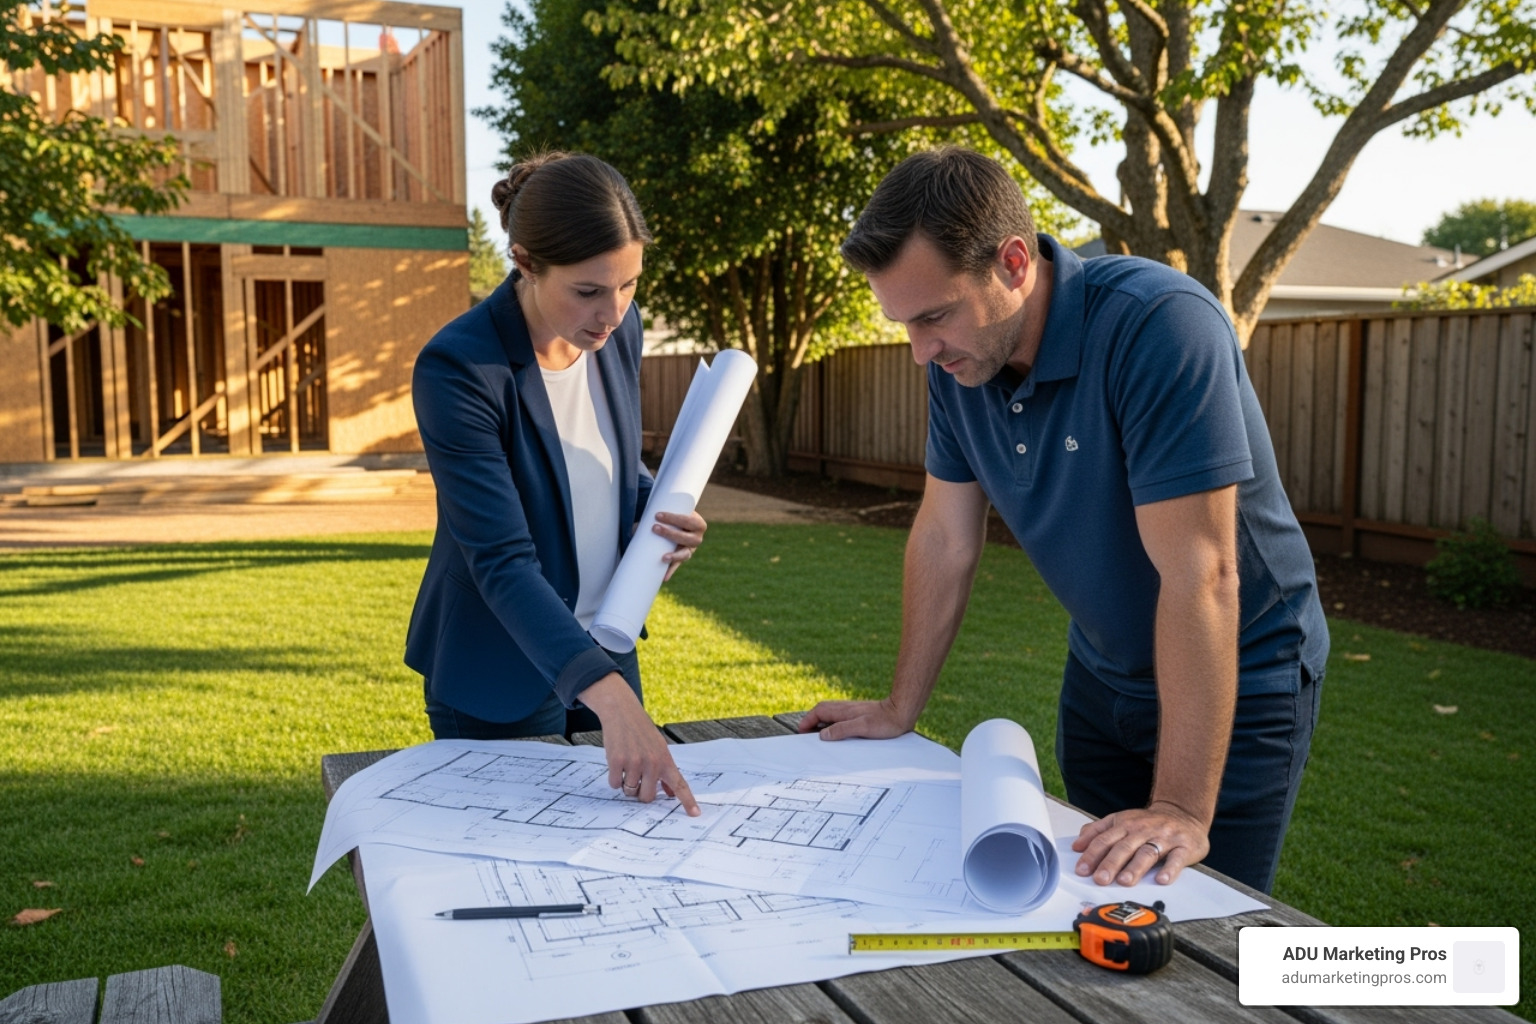
The journey begins with a comprehensive feasibility study. This deep dive assesses your property’s potential and constraints. It involves a detailed review of your local zoning code, identifying the potential location for the ADU, and precisely measuring setbacks (the required distance from property lines, fences, and other structures). A crucial part of this study is evaluating access to essential utilities like water, sewer/septic, and electricity. Determining the distance and complexity of these hookups is vital for an accurate budget. Engaging an ADU specialist or experienced designer at this early stage is an invaluable investment.

Key Design Considerations for Small Spaces
During the design phase, the primary goal is maximizing both function and the perception of space. An effective ADU design feels open, bright, and comfortable, regardless of its square footage. Key strategies include:
- Optimizing Natural Light: Large windows, skylights, and glass doors can make a small space feel significantly larger and more inviting.
- Creating Indoor-Outdoor Flow: Features like a patio, deck, or large sliding doors that open to a private outdoor area can effectively extend the living space.
- Smart Storage Solutions: Integrating built-in shelving, custom cabinetry that reaches the ceiling, and multi-functional furniture (like an ottoman with storage) is essential to keep the space uncluttered.
- Open-Concept Layouts: Combining the kitchen, dining, and living areas into one fluid space eliminates constricting hallways and walls, enhancing the sense of openness.
- Universal Design: Incorporating principles of accessibility, such as a no-step entry, wider doorways, and a walk-in shower, makes the ADU suitable for people of all ages and abilities, increasing its long-term value and utility.
Navigating Zoning and Regulations
This is often the most complex aspect of building an ADU. While California state laws have streamlined the process and mandated that cities allow ADUs, local jurisdictions retain control over many specific development standards. Always start by consulting your local planning department. Key regulations to verify include:
- Size and Height: State law allows for at least an 800 sq ft ADU up to 16 feet high. However, your maximum size may be influenced by local rules on total lot coverage or floor-area ratio (FAR).
- Setbacks: State law has reduced setbacks to a minimum of four feet for side and rear yards for most ADUs, and sometimes zero for conversions. Your local ordinance will provide the exact requirements for your zone.
- Parking: In most cases, parking requirements are eliminated, especially for ADUs located within a half-mile of public transit, in historic districts, or on properties with an existing JADU. Confirm your local rules.
- Owner-Occupancy: California law (AB 976) prohibits cities from requiring owner-occupancy for newly created ADUs until 2030. This is a major benefit for investors.
- Homeowners Associations (HOAs): If your property is part of an HOA, you must review their Covenants, Conditions, and Restrictions (CC&Rs). While state law prevents HOAs from outright banning ADUs, they can impose reasonable restrictions on design, materials, and placement.
- Building Codes: All construction must comply with the standards set by the California Building Standards Commission, which covers everything from structural integrity to fire safety and energy efficiency.
Budgeting and Financing Your Project
Building an ADU is a significant financial investment, with all-in costs ranging from $50,000 for a DIY-heavy JADU to over $400,000 for a high-end, custom detached unit. A detailed budget is non-negotiable.
Your total cost will be a mix of hard costs (physical construction, materials, labor) and soft costs (non-physical expenses). Soft costs can be substantial and include architectural design fees, structural engineering, soil reports, land surveys, city permit fees, and utility connection fees. It is critical to budget a 10-20% contingency fund to cover unforeseen issues, such as discovering poor soil conditions or needing to upgrade your main electrical panel.
Several financing options are available to fund your ADU project:
- Cash or Savings: The simplest option, avoiding interest and loan fees.
- Home Equity Line of Credit (HELOC) or Home Equity Loan: Uses the equity in your home as collateral. HELOCs offer flexibility with a variable interest rate, while home equity loans provide a lump sum with a fixed rate.
- Construction Loan: A short-term loan specifically for building projects, where funds are disbursed in stages as construction milestones are met. These can be more complex to secure.
- Cash-out Refinance: You take out a new, larger mortgage on your home, pay off the old one, and use the difference in cash to fund the ADU.
- Government Grants: Programs like the CalHFA ADU Grant Program can provide up to $40,000 for pre-construction costs (soft costs) to qualified low- and moderate-income homeowners.
- FHA-Backed Loans: Certain FHA loans may allow you to use the anticipated rental income from the ADU to help you qualify for the loan.
Phase 2: The Nuts and Bolts of Building an ADU
With your plans approved and financing secured, the construction phase begins. This is the exciting stage where building an ADU transitions from blueprints and paperwork into a tangible, physical structure in your backyard. The process is a highly coordinated effort involving multiple trades, inspections, and milestones. While challenges like permit delays, material shortages, or weather are common, having a skilled and communicative team makes them manageable. The construction timeline can vary significantly by ADU type, from a brisk 4-6 months for a straightforward garage conversion to a more extensive 8-12 months for a custom detached unit built from the ground up.

The Permitting Process for Building an ADU
The building permit is your official green light from the city to begin construction. To get it, your architect or designer will prepare a comprehensive set of construction documents. This package includes detailed architectural drawings (floor plans, elevations), structural plans from an engineer, and MEP (mechanical, electrical, plumbing) plans. Once submitted to your local building department, the plans enter a review process, which typically takes 3-6 months. It is very common for the city’s plan checkers to return the drawings with “redline comments” or corrections. This is a normal part of the process. Common requests involve clarifying fire-rating details, adjusting setback dimensions, or providing additional structural calculations. An experienced ADU professional can often anticipate these comments, minimizing back-and-forth and speeding up approval.
Hiring Your ADU Team: Architects and Contractors
Building an ADU successfully is almost entirely dependent on the quality of your team. Your architect or designer should not only be skilled in small-space design but also have a deep, practical knowledge of your local city’s ADU regulations. Your general contractor is the project manager for the entire build, so it’s crucial to find one with specific, verifiable ADU experience. They will be adept at navigating challenges unique to ADUs, such as working on tight sites, managing utility connections, and minimizing disruption to the main home.
Many homeowners opt for design-build firms, which offer a single point of contact for both the design and construction phases, potentially streamlining communication and accountability. When vetting any professional, perform your due diligence: verify their state license is active and in good standing, read online reviews, and, most importantly, call their references. Ask previous clients about their experience with communication, budget adherence, and quality of work. The Federal Trade Commission provides excellent guidance on drafting a solid contract that protects you.
Key Construction Stages for Building an ADU
Once the permit is issued, your contractor will mobilize and begin the physical work, which proceeds through a series of coordinated stages, each requiring a city inspection upon completion.
- Site Prep and Foundation: The build area is cleared, graded, and prepared. Trenches are dug for utility lines (water, sewer, gas, electrical conduit). The foundation is then formed and poured. For a detached ADU, this is typically a concrete slab-on-grade. This stage concludes with the critical foundation inspection.
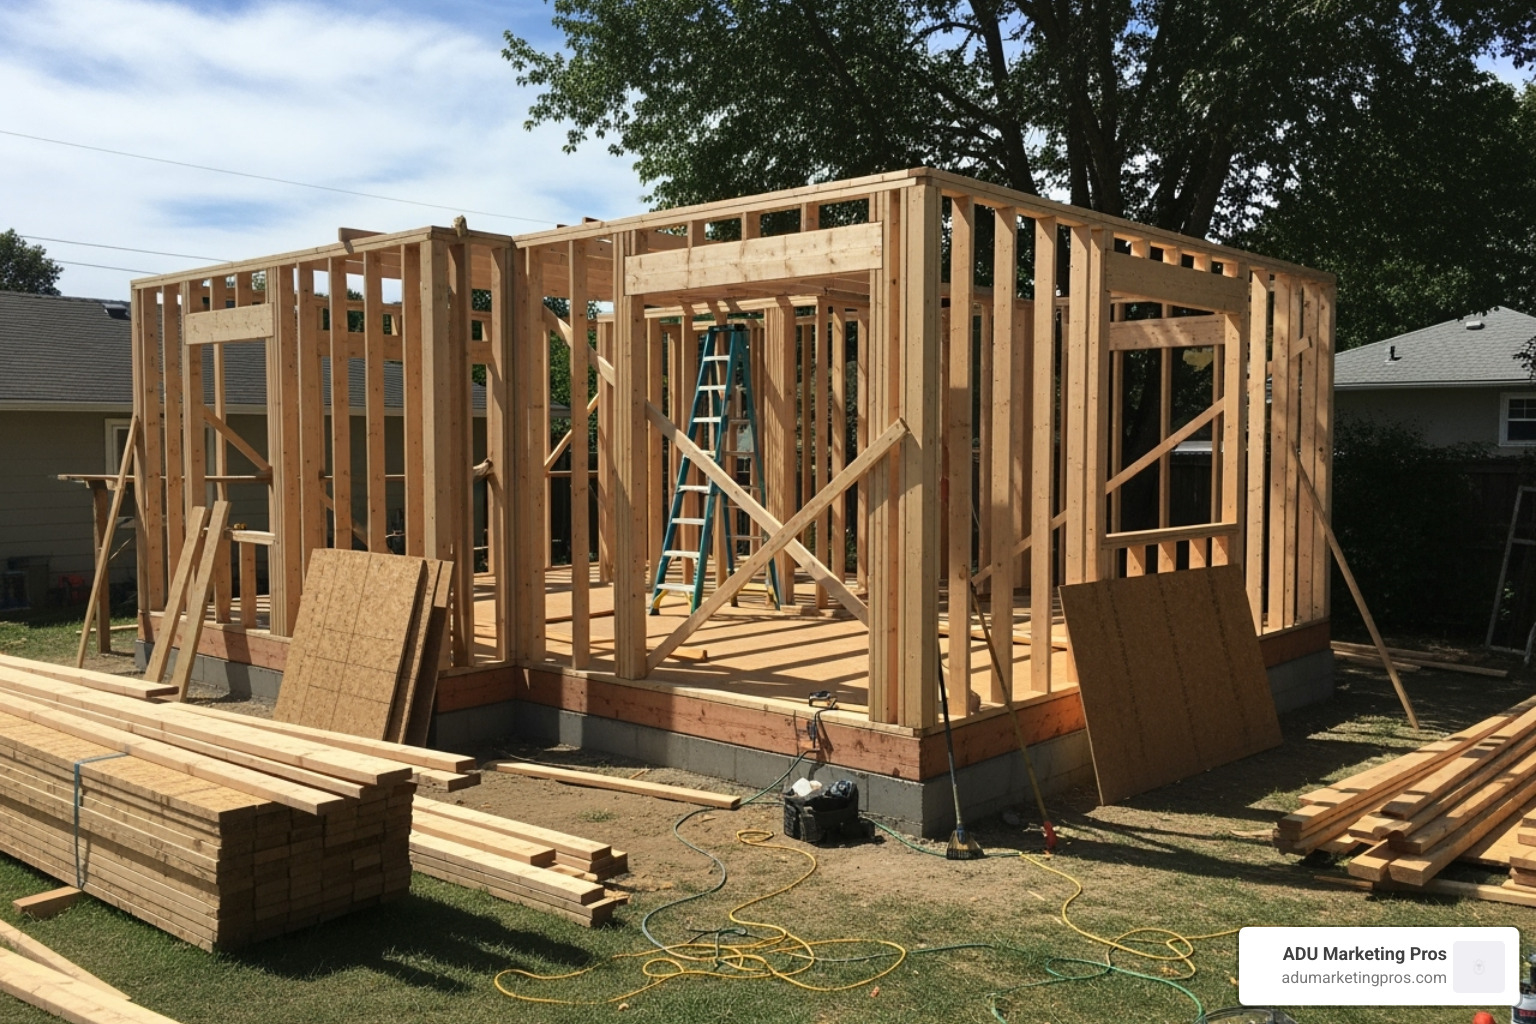
- Framing and Rough-in: The structural skeleton (walls and roof) of the ADU is erected. This is an exciting milestone as your floor plan becomes a three-dimensional reality. While the walls are still open, crews install the “rough” mechanical, electrical, and plumbing (MEP) systems—the pipes, wires, and ducts that will be hidden behind the drywall. This phase ends with a 4-way inspection: framing, electrical, plumbing, and mechanical.
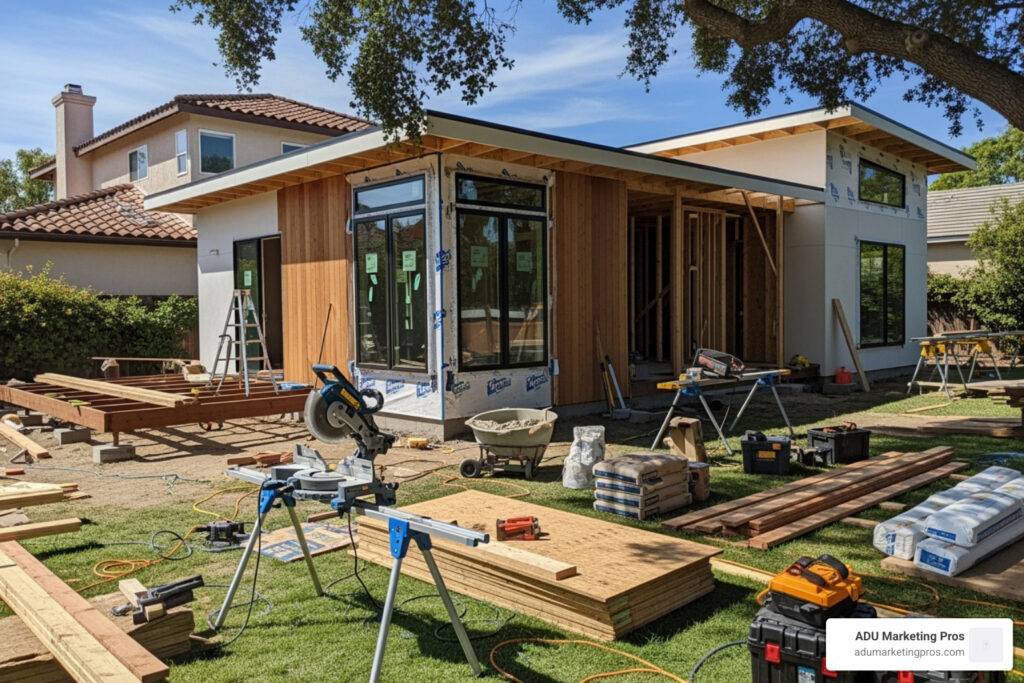
- Exterior Finishes: The structure is made “water tight.” This involves installing the roofing, siding, windows, and exterior doors. This protects the interior from the elements, allowing interior work to proceed regardless of weather. Material choices here will define the ADU’s aesthetic and long-term maintenance needs.
- Interior Work: With the structure sealed, work moves inside. Insulation is installed in the walls and ceiling to meet California’s strict Title 24 energy codes, followed by a drywall installation. After the drywall is taped and textured, the finishing trades take over. This is where the space becomes a home: flooring is laid, cabinets and countertops are installed, painting is completed, and light fixtures, plumbing fixtures, and appliances are put in place.
- Final Inspections and Occupancy: Throughout the build, city inspectors visit at each key milestone to ensure all work complies with building codes. After all finishes are complete, a final inspection is scheduled. Once your project passes this last hurdle, the city issues a Certificate of Occupancy. This is the crucial document that certifies your ADU is safe, legal, and ready for habitation. You can now legally move someone in, rent it out, and get it insured.
Frequently Asked Questions about Building an ADU
When homeowners begin to seriously consider building an ADU, a number of important questions consistently come up. Getting clear answers to these common concerns is a key part of the planning process.
What is the legal difference between an ADU and a guest house?
The primary legal and functional difference is the kitchen. A permitted Accessory Dwelling Unit (ADU) is defined as a complete, independent dwelling unit, which requires full kitchen facilities (a stove, oven, sink, and refrigerator). It is designed and permitted for long-term occupancy, and crucially, you can legally rent it out. A guest house, by contrast, is intended only for temporary accommodation of guests and is legally prohibited from having a full kitchen (it may have a wet bar). Because it is not a legal dwelling unit, it cannot be rented out. Always check your local city’s specific ordinances, as definitions can vary slightly.
How long does the entire ADU building process take?
The total timeline for building an ADU from initial concept to final occupancy generally falls between 7 to 15 months. This timeline is best understood by breaking it into two distinct phases:
- Phase 1: Design and Permitting (Pre-Construction): This phase typically takes 3 to 6 months. It involves hiring a designer, developing architectural plans, getting engineering done, and then submitting the plans to the city for review. The back-and-forth with city plan checkers for corrections can extend this phase.
- Phase 2: Construction: This phase usually lasts 4 to 9 months, depending heavily on the ADU type. A simple garage conversion is on the shorter end of this range, while a new, custom-built two-story detached ADU will take significantly longer. Factors like weather, material and labor availability, and the efficiency of your contractor can also impact the construction timeline.
Can I build an ADU myself (DIY)?
While the DIY approach is tempting for potential cost savings, building an ADU is a far cry from a simple home renovation project. It involves constructing a small house that must comply with a complex web of state and local building codes, zoning laws, and safety regulations, particularly in a highly regulated state like California. The permitting process itself is intricate and requires professional-grade plans. Furthermore, all electrical and plumbing work must be performed by licensed professionals and pass rigorous city inspections at multiple stages. Unless you are a licensed contractor with extensive experience, a DIY ADU project runs a very high risk of failing inspections, leading to costly mistakes, significant delays, and potentially unsafe living conditions. For the vast majority of homeowners, hiring a team of qualified professionals is the smarter, safer, and ultimately more cost-effective choice.
How do I connect utilities to my ADU?
Utility connections are a major consideration. You generally have two options: 1) Tying into the main house’s existing utility lines, or 2) Creating separate utility meters for the ADU. Tying in is often cheaper upfront but means you’ll have to figure out how to split the utility bills with your tenant. Installing separate meters for water, gas, and electricity provides clear billing but comes with significantly higher costs, as it involves paying fees to the utility companies and more extensive trenching. Your contractor and local utility providers can help you evaluate the costs and benefits of each approach.
What are the biggest hidden costs when building an ADU?
Several costs can surprise homeowners. The most common are: utility upgrades (e.g., needing a new, larger main electrical panel for the whole property, which can cost thousands), major site work (e.g., extensive grading for a sloped lot or removing large trees), and unforeseen conditions (e.g., discovering poor soil that requires deeper, more expensive foundations). Utility connection fees charged by the city and local utility companies can also be much higher than homeowners expect. A healthy 15-20% contingency fund is the best defense against these hidden costs.
Can I use a prefabricated or modular ADU?
Yes, prefabricated (or modular) ADUs are a growing option. These units are built off-site in a factory and then transported to your property for installation. Pros: The build time can be faster and more predictable since factory work isn’t delayed by weather. Cons: Customization is often limited, and transportation and crane costs can be very high. Most importantly, a prefab ADU is only a viable option if your property has clear, wide access for a large truck and crane to deliver and set the unit.
Conclusion
Building an ADU is undeniably a significant undertaking, but it stands as one of the most rewarding investments a California homeowner can make. It is more than a construction project; it’s an investment in your property’s financial future, your family’s long-term flexibility, and your community’s housing landscape. Whether your goal is to generate substantial rental income, create a supportive multigenerational living compound, or build a dedicated workspace, ADUs offer a uniquely powerful and versatile solution to the demands of modern life.
The journey from a simple idea to a completed, move-in-ready home is a marathon, not a sprint, typically taking 7 to 15 months. It requires patience and diligence in navigating local zoning codes, securing the necessary permits, and managing a detailed, multi-stage construction process. However, the rewards for this effort are tangible and lasting. You gain a significant boost in property value, a new stream of rental income that can reach $1,500-$3,500 or more per month, and a beautiful, functional space that is custom-built for your needs.
With California state laws making it easier than ever to build, ADUs represent the future of smart, sustainable, and gentle urban development. They add critically needed housing density to established neighborhoods without contributing to sprawl and provide more affordable living options in high-demand areas.
For homeowners ready to explore this opportunity, the time has never been better to turn your backyard’s potential into a valuable reality. The essential first step is to begin your research and assemble the right team of experts. For industry professionals looking to guide these homeowners, ADU Marketing Pros can help you build a powerful online reputation based on expertise and trust, connecting you with clients ready to build.

